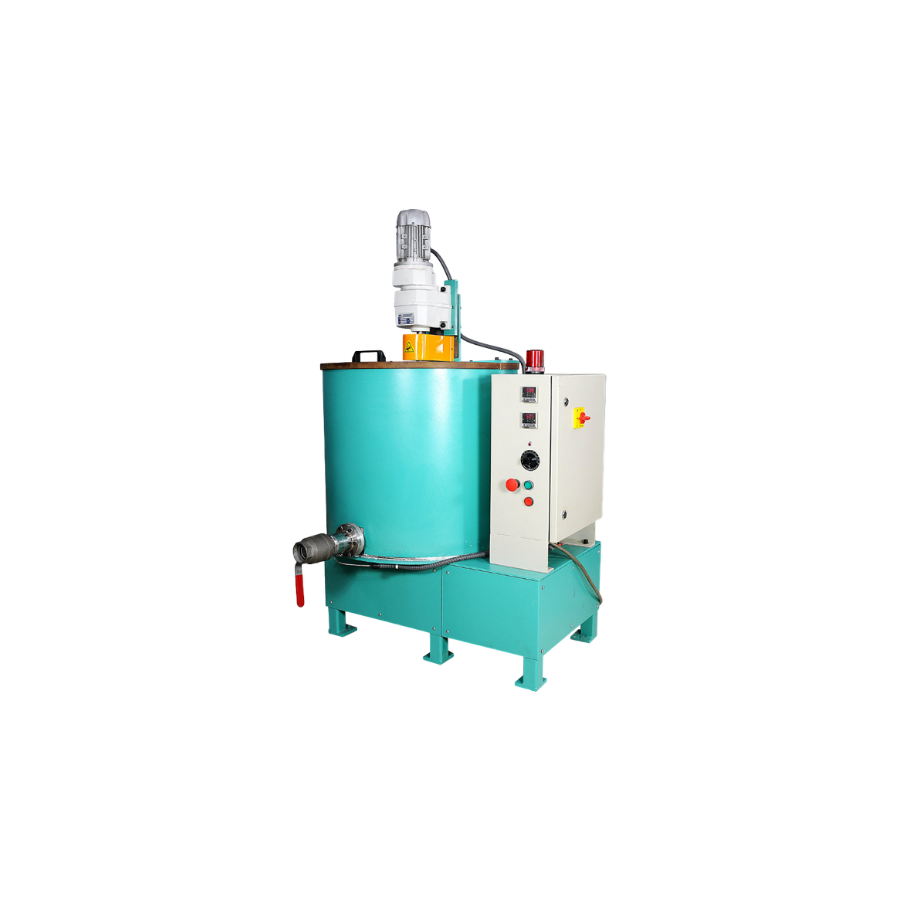
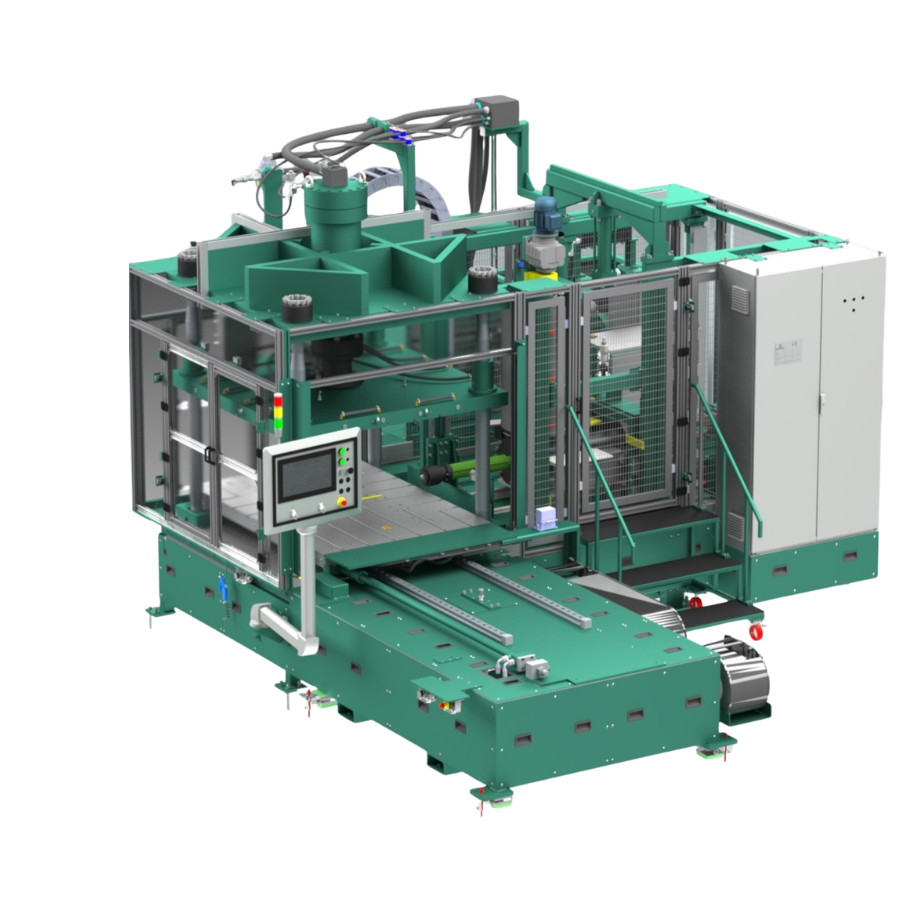
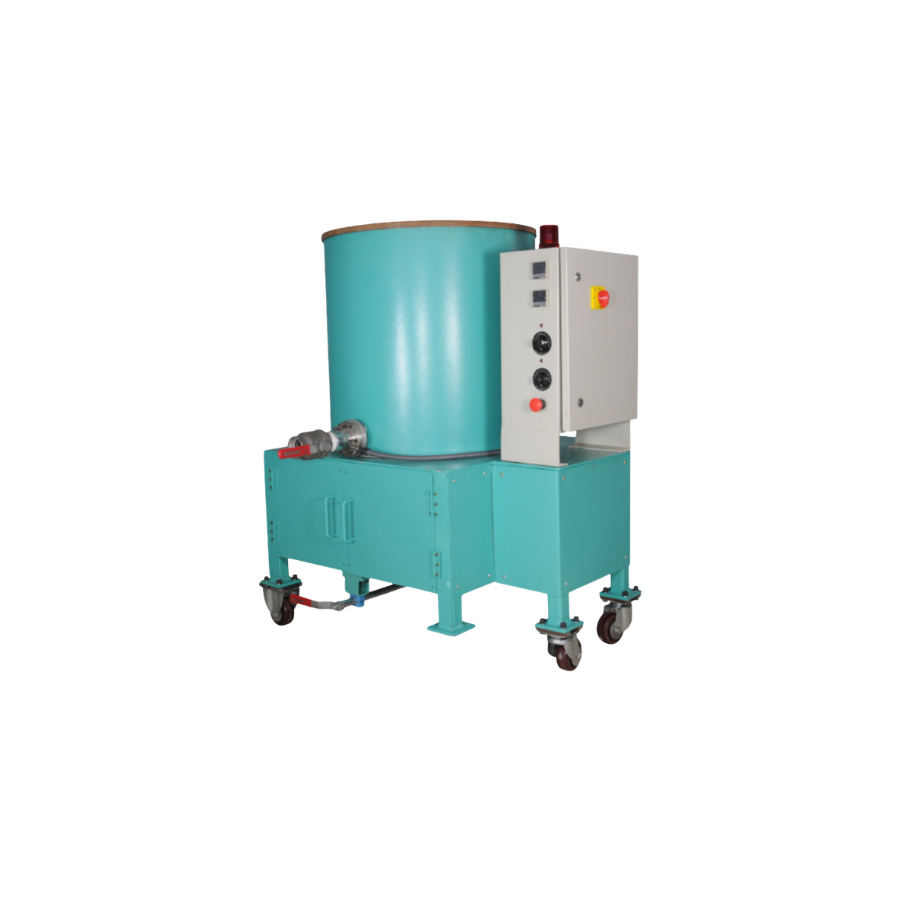
Wax Conditioning Tank
A wax conditioning tank is essential in investment casting foundries because it prepares molten wax for injection into pattern dies. Unlike a simple melting tank, the conditioning tank ensures the wax is properly filtered, de-aerated, and maintained at a stable temperature and viscosity. This process directly impacts the quality of wax patterns, which in turn determines the accuracy and surface finish of the final castings.
Here’s a structured guide for operating a wax conditioning tank in investment casting foundries:
1. Melt and Transfer Wax Setup
- Begin by melting wax in the melting tank and transferring it to the conditioning tank.
- Ensure wax is fully liquefied in the melting tank
- Pump or gravity-feed wax into the conditioning tank
- Avoid contamination during transfer
2. Heat and Stabilize Temperature Critical Maintain wax at the correct operating temperature for conditioning.
- Set tank heaters to the recommended range (usually 60–70°C depending on wax type)
- Use thermostats for precise control
- Prevent overheating to avoid wax degradation
3. Filter Wax Recommended
- Remove impurities to ensure clean wax for pattern injection.
- Pass wax through fine mesh or cartridge filters
- Replace filters regularly to maintain efficiency
- Ensure no solid particles remain
4. De-Aerate Wax Quality Control
- Eliminate trapped air bubbles that can cause defects in patterns.
- Use vacuum systems or mechanical stirring
- Allow sufficient time for air release
- Monitor for foam or bubbles
5. Maintain Viscosity, Process Stability
- Ensure wax viscosity is consistent for smooth injection.
- Check viscosity using standard tests
- Adjust temperature if viscosity drifts
- Record readings for process control
6. Prepare for Injection Final Step
- Conditioned wax is now ready for injection into dies.
- Confirm wax is clean, bubble-free, and stable
- Transfer wax to injection press
- Keep tank covered to prevent contamination